Gail Waldo and her Black Lick Rich Licorice (say that fast 10 times) might sound familiar to you: We featured her in our August issue’s Microclimate. We also said, “Next stop: Halloween,” and guess what, Halloween is around the corner. So as we enter the year’s “sugariest” holiday season (sorry, Easter) we want to take a deeper dive into Waldo’s licorice world; to get her thoughts on everything from why she makes such a polarizing candy to the sweet recipe she thinks everyone should be making this Halloween season (Spoiler alert: it’s not licorice).
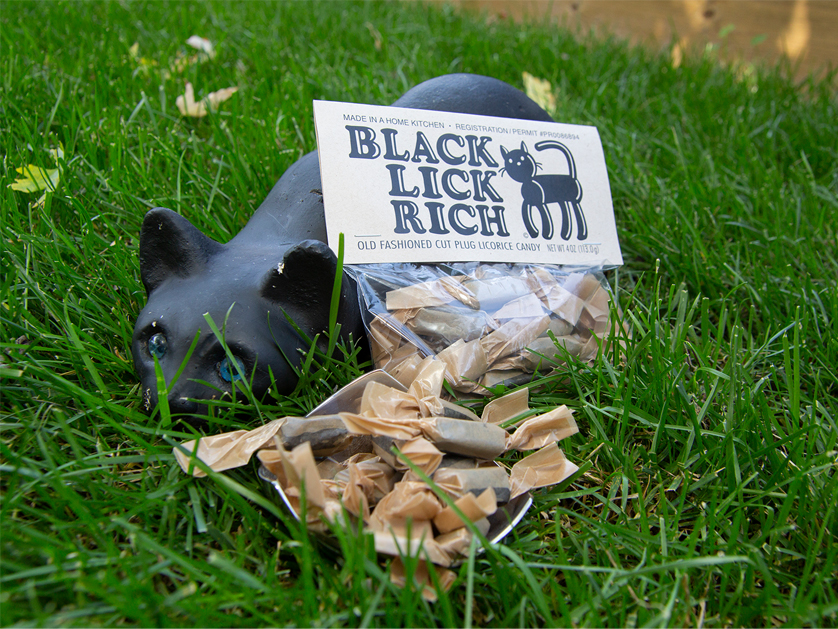
Up until this past year, Waldo, didn’t even like black licorice. As a child, she’d abandon the black twists and beans of her trick-or-treat haul, leaving the discards for “Pop,” her father, who loved the stuff. It wasn’t until Waldo mastered her own recipe of old-fashioned, cut-plug black licorice that her taste buds turned a corner. One bite of Waldo’s candy and it makes sense. Hers is a gateway licorice. Cut into little logs not unlike elongated Tootsie Rolls, they’re rich but with a buttery, caramel flavor and texture that will convert even the ardent anise hater.
So how did Waldo come to make a candy she didn’t even like, and then commit an entire year to tweaking and perfecting the recipe? That is a blend of chance, nostalgia, and a tendency for things that are “weird.”
“I like that it [black licorice] is weird, it’s different. No one knows they can make it at home,” Waldo said. In fact, she wasn’t even looking to make black licorice when she stumbled upon the fateful link that caught her eye. It was in the sidebar while she was searching for Oreo truffles, and when she saw it, it made her think of Pop, then a mere 100 years old. She decided to give it a try. When she didn’t like the results, she set her mind to fixing it.
Meeting Waldo, it makes sense she would make an old-fashioned, “who-knew-you-could-do-it-at-home?” candy. From the outside, she is quirky and artsy; a typesetting graphic designer with blunt cut bangs and a licorice-filled zipper pouch she jokingly calls her “humidor.” She’s by no means a retro caricature, but there is an air of time traveler to her. Maybe it simply comes down to her penchant for old-timey candy — in addition to making black licorice, she used to make for Pop another vintage treat, a spicy, rootbeer-like candy called horehound. Or maybe it’s because she’s only two generations removed from the Civil War: Her grandfather was born before — yes, before — the war began. But somehow, it all comes together — her family, her creativity, her love of sweets — and it does so in a way that makes perfect sense that she would be the woman to bring to new heights a candy that only operations like Haribo and Twizzlers dare to make.
Waldo and her business partner, Ken Seydel, just started selling their caramelly rolls of black licorice this summer. Father’s Day was their first appearance at the Redwood City Farmer’s Market, an unintentional but poignant nod to Pop, who never got to try the final product. Shortly after their debut they were invited to sell at Williams-Sonoma in Palo Alto, as a part of the store’s local artisans’ program. It’s safe to say the future for Waldo and her second career as a candymaker may be black, but it is anything but dark.
Recipe
Chocolate Oreo Truffles*
Adapted from Whatscookingamerica.net
This is the recipe that started it all, the recipe Waldo was looking for when she first spotted the link for homemade black licorice. These truffles are so rich and chocolatey, it’s hard to believe that they’re made with Oreos. They’re also incredibly easy to prepare, making this a kid-friendly recipe for little goblin helpers and the perfect homemade Halloween treat!
Makes 40-50 truffles, depending on the size
Ingredients
1 package (1 pound, 2 oz) Oreo cookies
1 (8 oz) package cream cheese, at room temperature
2 (8oz) packages semi-sweet chocolate chips (or Wilton candy melts)
Optional toppings: chopped Oreos, chopped nuts, cocoa powder, powdered sugar, colored sugar/sprinkles, Heath Bar Crunch bits, etc.)
Directions
1. Line two large cookie sheets with wax or parchment paper.
2. Remove the cream filling from Oreos (this step isn’t necessary, but Waldo says it helps!).
3. In a food processor, crush the Oreos cookies into fine crumbs. If you don’t have a food processor, you can also crush them by putting them in a zip lock bag and crushing them with a rolling pin.
4. Add the cream cheese (and the cookie cream filling, if you separated it) to the food processor (or bowl if you’re doing everything by hand) and thoroughly mix until you have a creamy dough. Make sure there are no white traces of cream cheese.
5. Using your hands, roll the dough into walnut-size balls, about ¾-inch diameter. If the dough gets too soft, pop it in the fridge to chill slightly.
6. Place the dough balls on the lined baking sheet and refrigerate for at least 45-60 minutes.
a. The dough balls can be stored in the freezer for up to one week before being dipped in chocolate.
7. Now it’s time to melt the chocolate! You have a couple of options here:
a. If you’re using candy melts, follow the melting instructions on the package.
b. If you’re using chocolate chips, you can use a double-boiler or the microwave.
i. Double-boiler: Place a glass bowl over a pot of simmering water. Make sure the water is not touching the bowl. Add the chocolate to the glass bowl, stirring it until smooth and melted. Be careful to make sure the steam from the water doesn’t get into the chocolate. This will cause the chocolate to “seize,” which is what it’s called when chocolate gets grainy. Also, be careful not to overheat the chocolate. This will take the chocolate out of “temper,” which is what gives chocolate that nice snap when you break it.
ii. Microwave: Add the chocolate chips to a microwave-safe bowl. Set the microwave to either “defrost” or 10% power. Microwave for one minute, and then check and stir. If the chocolate needs to melt a little bit more, pop it back in, but only for 10-20 second intervals, stirring and checking the chocolate after each one. Again, you don’t want to over melt because you’ll take the chocolate out of temper.
8. Once the chocolate is melted, using a small fork, skewer or chopstick, lower each ball of dough, one at a time, into the melted chocolate. Once the ball is covered in chocolate, carefully lift it out of the bowl, allowing any excess chocolate to drip off (you can gently tap the fork on the rim of the bowl to help this process).
9. Place the Oreo Truffle Ball onto the wax paper. If you’re adding any additional chopped toppings, sprinkle now, before the chocolate hardens (except the cocoa powder or powdered sugar. If you’re sprinkling either of those on, wait until the chocolate has hardened, otherwise it will melt into the warm chocolate). If you’re adding any candy melt decoration (say, a drizzle of another color of candy melt) wait until the chocolate shell has hardened.
10. Once hardened, store finished Oreo Truffle Balls in an airtight container in the refrigerator. Keep the truffles refrigerated or frozen prior to serving.
*Hoping for her black licorice recipe? Nice try — It took a year for Waldo to perfect it, she’s not sharing those secrets anytime soon!